Each student's login credentials will be preloaded with one business that is setup for their provided simulation. If at any point your student would like to restart or if you would like to have your students use the software for another lesson or project, they can easily create a new business from directly within their account.
To create a new business:
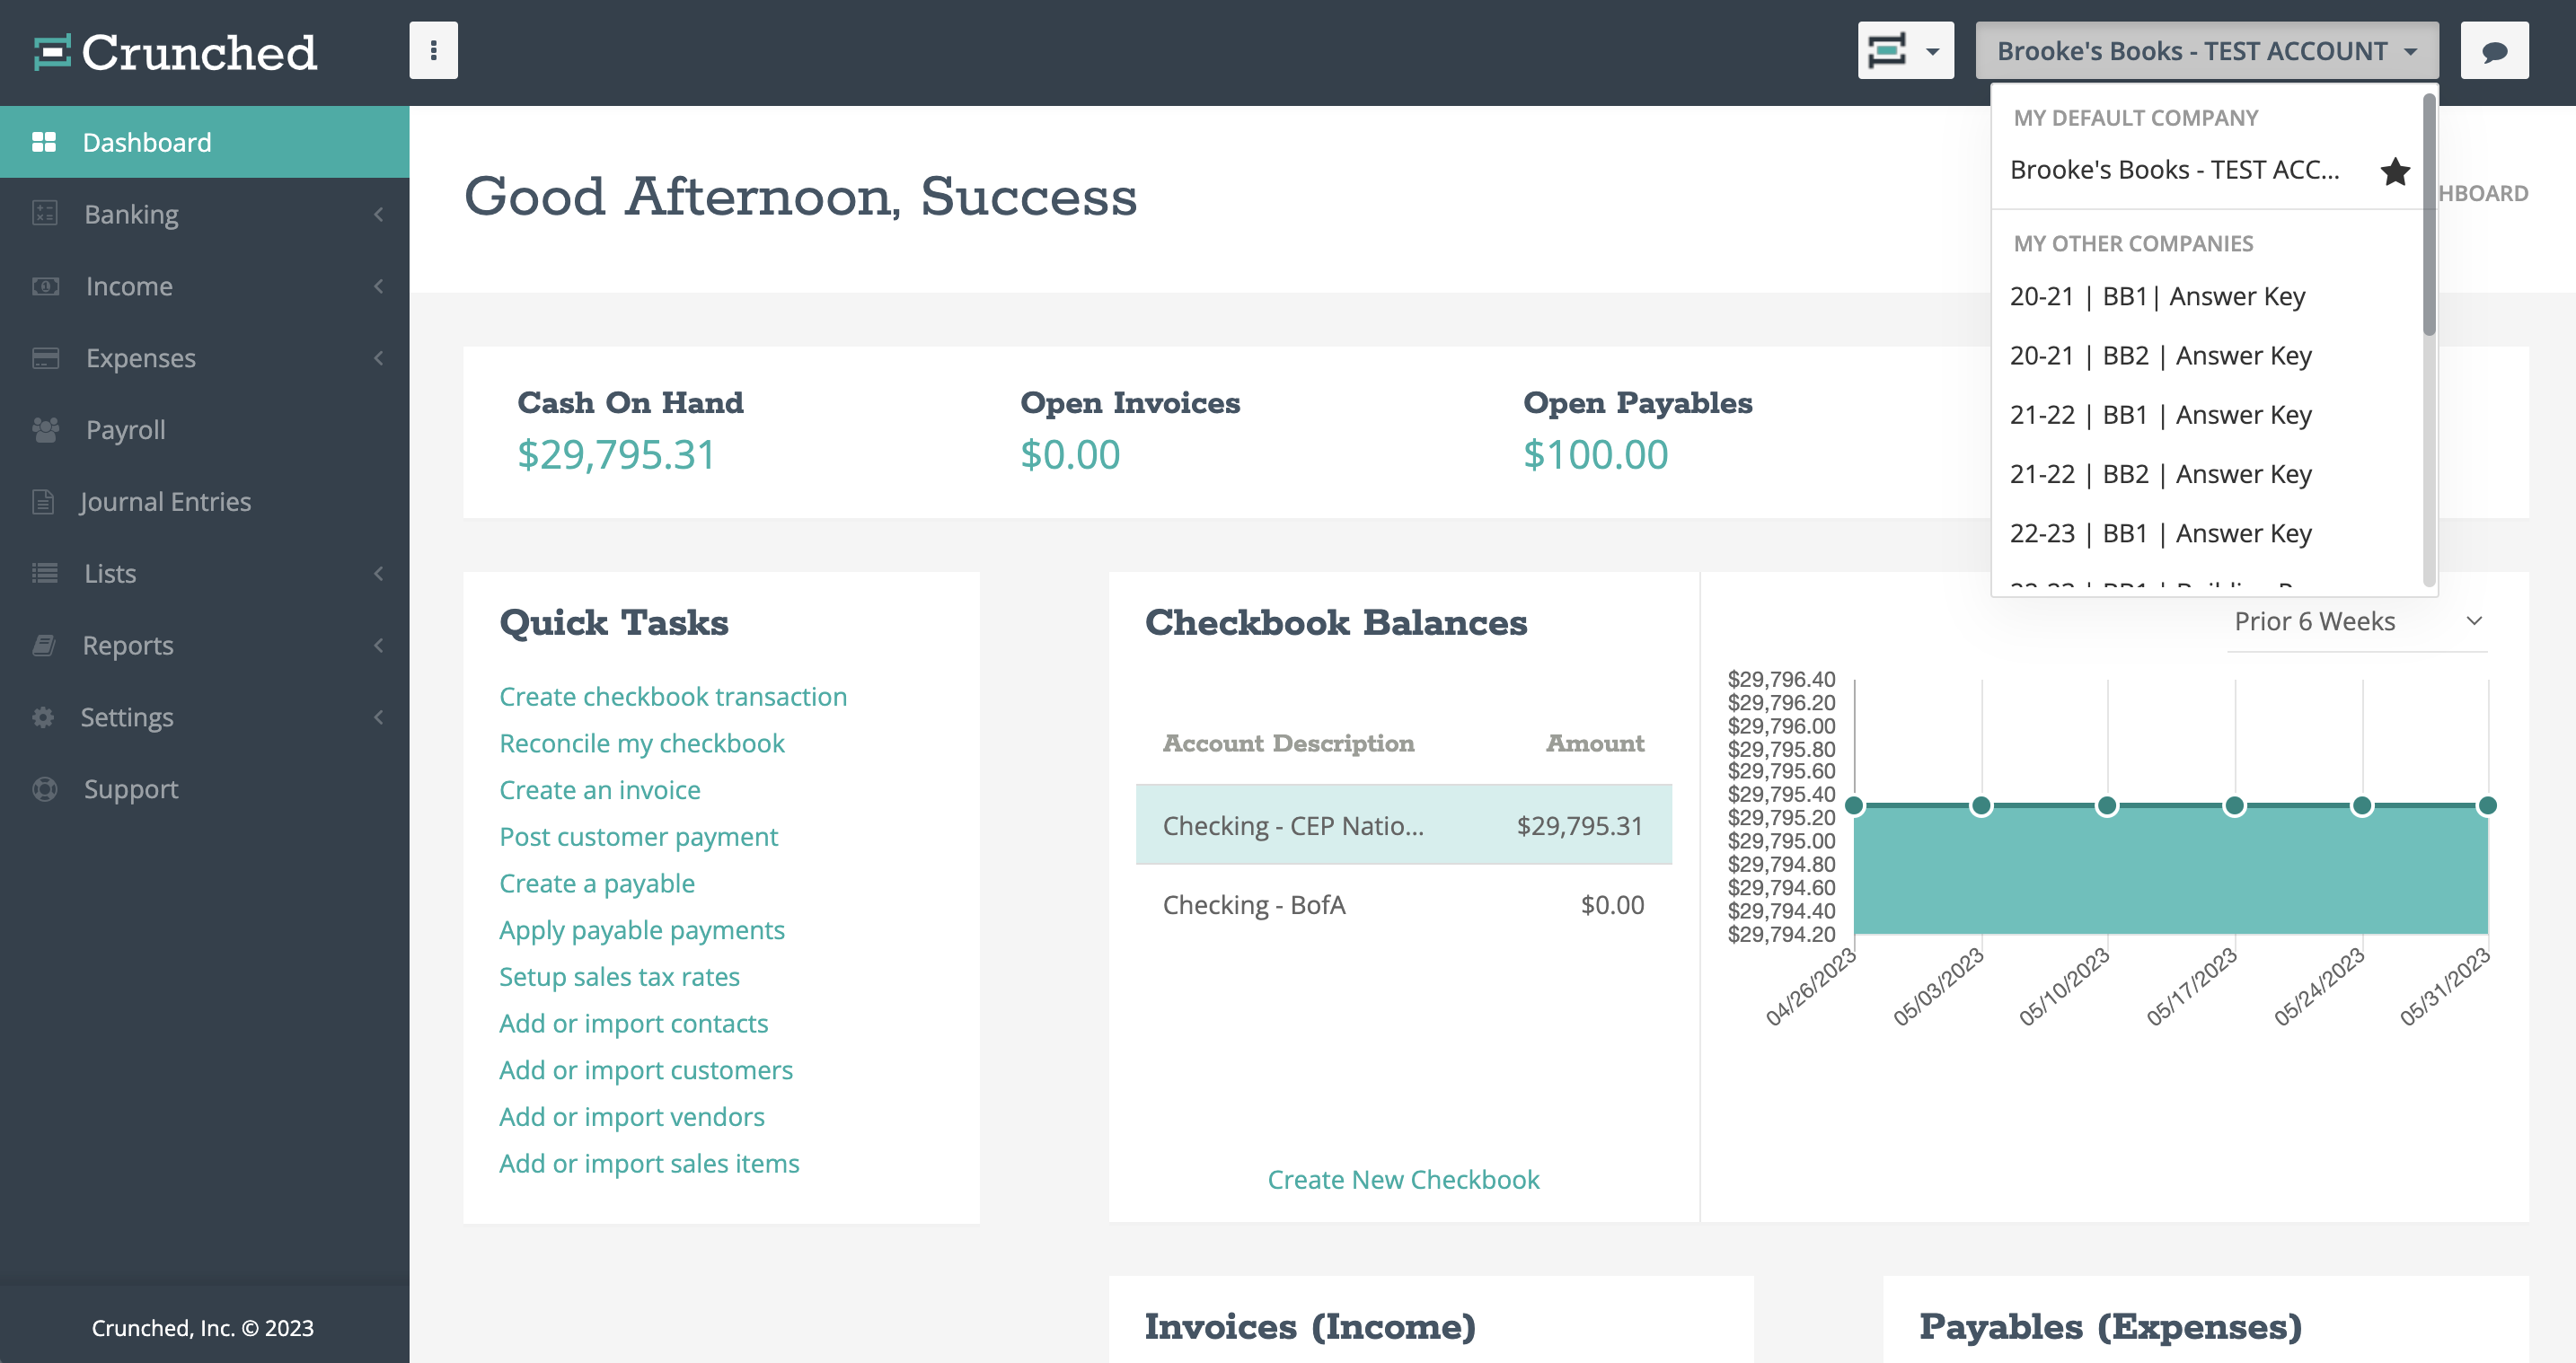
- Select the company drop down at the top right of the Crunched window
- You will notice My Default Company, My Other Companies, and a link to Create New Company. Click Create New Company
- You will be directed to a new business profile page. Complete all information but note that only the Business Name is required in order to continue
- Then select your accounting method, set your year-end date, and click Next
Note: Be sure to set your accounting method based on the simulation you are using or the project you are completing. The accounting method can not be changed after the business is created.
After completing the setup, you will then be redirected to the chart of accounts page from within your new business. You can select the company drop down and will now see your preloaded business as well as the new one you just created.
Your students can repeat this process and create as many businesses as they'd like from within their Crunched account. If at any point they would like to change their default company, click the company drop down and select the star next to that business. The default company will be the preloaded company when logging into the account.
Note: All new businesses will start on a 30 day free trial. 30 minutes after creating the new business, select the "Upgrade" button and choose the Free plan. All features are preloaded onto the education accounts so selecting the Free plan will be sure everything aligns with the simulation workbooks.